Lucky Red Sweet & Sour Sauce
- donnaacostapllc
- Feb 13
- 3 min read

My recipe for sweet & sour sauce in my online cooking class is made with a unique blend of pineapple juice and tomato paste, which gives it terrific flavor, but it's not glossy and translucent.
When online students challenged me to come up with a translucent version of my sweet & sour sauce, I recalled with a conversation I had with a co-worker from China. She shared with me that her grandmother told her once that sweet & sour sauce was traditionally made from beet juice. So, I started experimenting with a can of sliced beets, and this translucent, deep red sauce is the result. It's not cloyingly sweet, and it has a wonderfully fresh, balanced flavor.
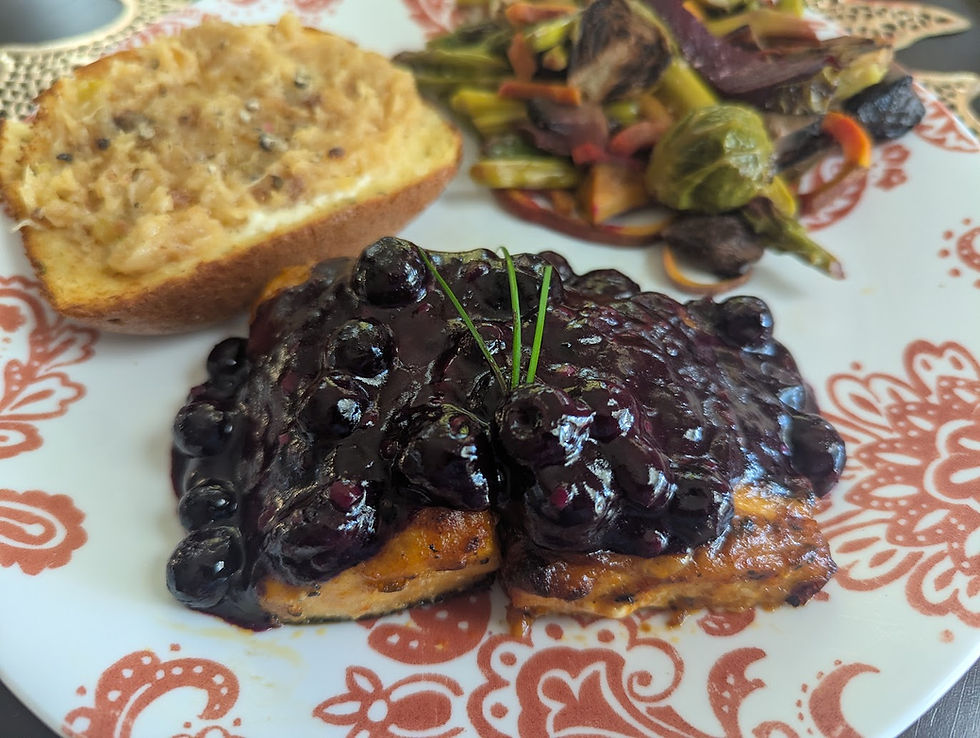
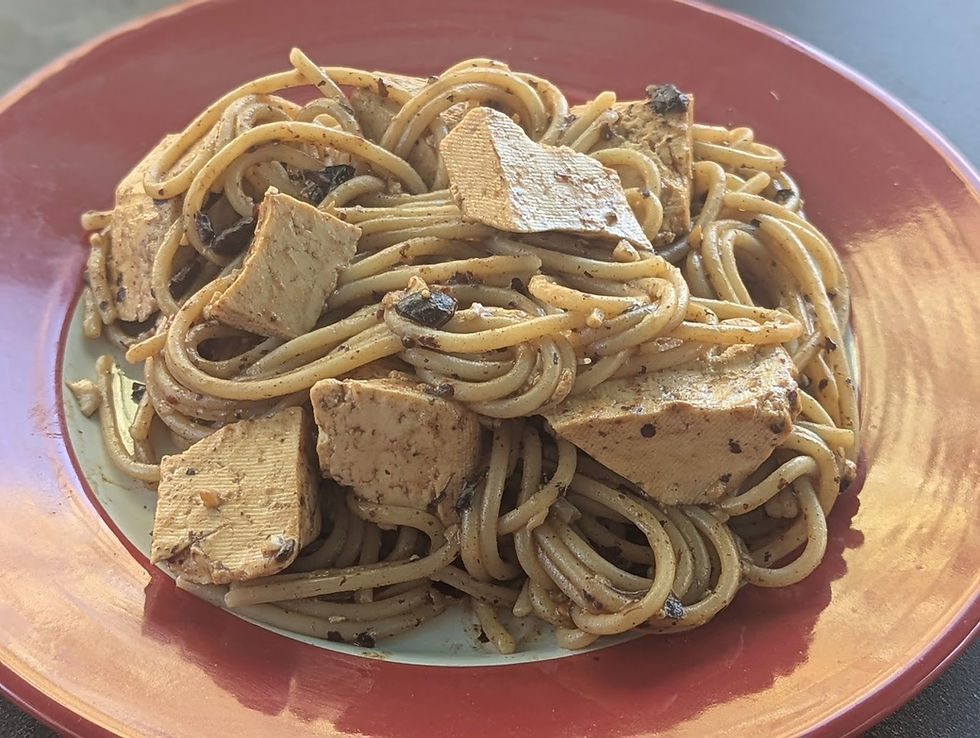
In Chinese tradition, the color red is considered lucky, which is why red is prominently featured in foods and decorations for the Lunar New Year (on February 17th this year). And of course, Valentine's Day (February 14th) also showcases the color red. Whether you enjoy this recipe for a holiday, or simply because you enjoy a sweet-tart sauce with your meals, Lucky Red Sweet & Sour Sauce makes a delicious accompaniment to meatballs, steamed veggies, rice, or, as I've featured here, grilled tofu and spiralized yellow squash. (I'm always trying to hack my health by eating more fruits, veggies, nuts, seeds, grains, and legumes!)
Ingredients:
1 tablespoon cornstarch
1 (14-ounce) can reduced sodium vegetable broth
3/4 cup beet juice (see Cook's Notes)
1/2 cup reduced-sodium tamari or soy sauce
1/2 cup rice wine vinegar
1/2 cup sugar or sugar substitute (I used stevia)
1 tablespoon bottled minced garlic (or 3 garlic cloves, peeled and minced)
Directions:
Combine cornstarch and broth in a medium saucepan, and whisk until cornstarch is dissolved. Add beet juice, tamari, vinegar, sugar, and garlic, and heat over medium-high heat, stirring often, until sauce reaches a boil. Reduce heat and simmer until sauce thickens, about 20 minutes, stirring often.
Cook's Notes: Beet juice is enjoying popularity as a health food, so you may be able to find it at your grocery store, drugstore, or online. If not, a 14-ounce can of plain sliced beets contains about 3/4 cup beet juice. Just be sure to choose plain beets, not pickled beets, or your sauce will have an off-flavor.
If you use canned sliced beets, the leftover beets make a colorful addition to green salads. Or, use the beets as the base for a cold veggie salad. Quarter the slices, combine with a drained 14-ounce can of green beans, drizzle with balsamic dressing, and sprinkle with a little feta cheese. Enjoy!
Like what you're reading?
Click here for a free weekly email every Friday,
scroll down to leave a comment or a rating,
or click on the three dots at the top of the page to share with a friend!
(If you're not getting your email, check your Promotions, Updates, Junk, Spam, etc. folders!)
If you click on the links in this post and make a purchase, I earn a small finder's fee on qualifying purchases as an Amazon Associate, at no cost to you.
This website is for educational purposes only. It is not intended to be a substitute
for or to replace working with a doctor, therapist, or any other care provider.
I assume no responsibility for errors, inaccuracies, omissions, or other
inconsistencies, and disclaim any liability to any party for any events,
including but not limited to loss, damage, or disruption, whether loss,
damage, or disruptions results from negligence, accident, or any other cause.
Your use of the information on this website is at your own risk.
1
Searing the Beef
Sear beef fillets on high heat for 2 minutes per side to form a golden crust. Let it cool before proceeding to keep the beef tender.
1
Searing the Beef
Sear beef fillets on high heat for 2 minutes per side to form a golden crust. Let it cool before proceeding to keep the beef tender.
1
Searing the Beef
Sear beef fillets on high heat for 2 minutes per side to form a golden crust. Let it cool before proceeding to keep the beef tender.
1
Searing the Beef
Sear beef fillets on high heat for 2 minutes per side to form a golden crust. Let it cool before proceeding to keep the beef tender.
Notes


1
Season the good fresh beef fillets with salt and black pepper. Heat olive oil in a pan over high heat and sear the fillets for 2 minutes per side until it fully browned. Remove the beef from the pan and brush with a thin layer of mustard. Let it cool.
1
Season the good fresh beef fillets with salt and black pepper. Heat olive oil in a pan over high heat and sear the fillets for 2 minutes per side until it fully browned. Remove the beef from the pan and brush with a thin layer of mustard. Let it cool.
1
Season the good fresh beef fillets with salt and black pepper. Heat olive oil in a pan over high heat and sear the fillets for 2 minutes per side until it fully browned. Remove the beef from the pan and brush with a thin layer of mustard. Let it cool.
1
Season the good fresh beef fillets with salt and black pepper. Heat olive oil in a pan over high heat and sear the fillets for 2 minutes per side until it fully browned. Remove the beef from the pan and brush with a thin layer of mustard. Let it cool.
Instructions
Quality Fresh 2 beef fillets ( approximately 14 ounces each )
Quality Fresh 2 beef fillets ( approximately 14 ounces each )
Quality Fresh 2 beef fillets ( approximately 14 ounces each )
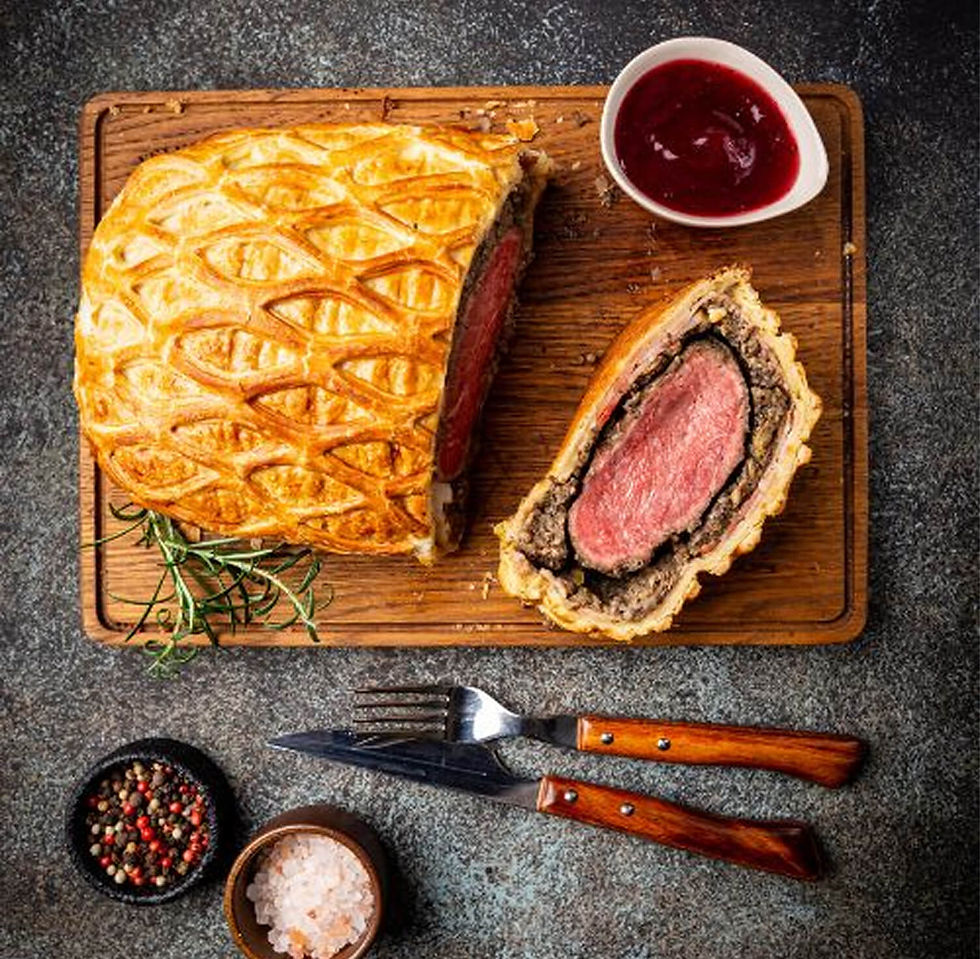
Beef Wellington
Beef Wellington
Fusion Wizard - Rooftop Eatery in Tokyo
Author Name
%20(1).jpg)
Beef Wellington is a luxurious dish featuring tender beef fillet coated with a flavorful mushroom duxelles and wrapped in a golden, flaky puff pastry. Perfect for special occasions, this recipe combines rich flavors and impressive presentation, making it the ultimate centerpiece for any celebration.
Servings :
4 Servings
Calories:
813 calories / Serve
Prep Time
30 mins
Prep Time
30 mins
Prep Time
30 mins
Prep Time
30 mins

Beautiful recipe, I love the sea of sauce🤌🤌